88-MOULE-3900

4

Barbie silicone mold
search
  • Barbie silicone mold
  • Barbie silicone mold
  • Barbie silicone mold
  • Barbie silicone mold

Barbie silicone mold

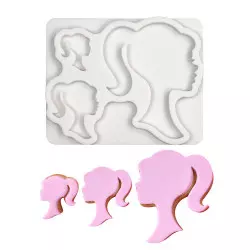
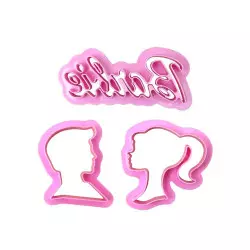
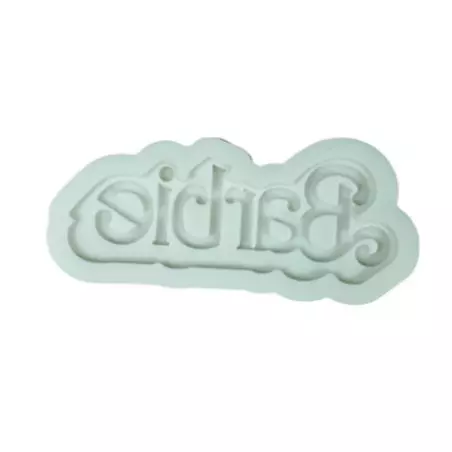
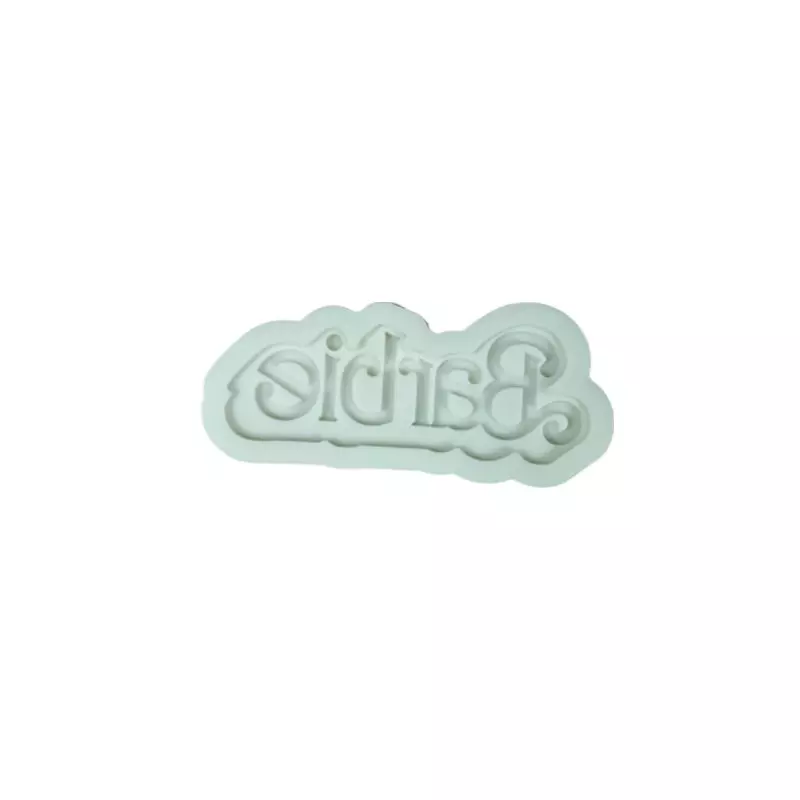
Immerse yourself in the enchanted world of Barbie with this silicone mold featuring the inscription "Barbie". You'll be able to decorate your sugar, almond or chocolate cakes with this creation, which will add a glamorous, chic and refined touch to your delicacies.

Dimensions: 7 x 2.7 cm

Quantity :
4.80 €
Tax.Inc
In Stock

Order now and receive it on...

between Thursday 2 May and Tuesday 7 May   with  Chrono Express International

Description

With this "Barbie" silicone mold, you can now add a touch of this fairytale world to your culinary creations.

Create desserts worthy of the world's most famous doll, such as cakes, shortbread, cupcakes, chocolates and much more, all adorned with the"Barbie" inscription. But also in sugar paste, marzipan, candy melts or Isomalt.

Let your imagination run wild by adding glitter, edible pearls or sugar decorations to further personalize your creations.

Thanks to its flexibility, you can easily unmold your creations without damaging them, and its non-stick silicone ensures quick, effortless clean-up.

High- and low-temperature resistant from -60°C / 230°C.

Directions for use for Pâte à Sucre or Gumpaste :

  1. Mould preparation: Sprinkle the mould lightly with cornstarch and tap to remove any excess.
  2. Preparing the Pastry: Start with a small roll of sugar paste or gumpaste and place it in the mold. Keep the fingers of both hands sprinkled with cornstarch to prevent the dough from sticking to your hands.
  3. Shaping the dough: Use your fingers to gently press the dough into the mold, working from the center outwards.
  4. Using a rolling pin: For a flawless finish, run a rolling pin over the surface of the mold to press the dough firmly into place. Sprinkle the rolling pin with cornstarch to prevent the dough from sticking.
  5. Trimming the excess: Use a clean, dry knife or scalpel. Run the blade through the cornstarch to prevent the dough from sticking. Place the blade flat on the surface of the mold and carefully cut away the excess dough with a light sawing action. For larger molds, it may be useful to clean and dry the blade halfway through the process.
  6. If you're working with very complex molds, we recommend placing the mold in the freezer for 10-15 minutes. Once thawed on a clean, dry surface, the dough will be moist and sticky. Avoid touching it during this phase. Depending on the type of dough used and the ambient humidity, your creations should be dry to the touch within 10 to 30 minutes. Make sure they are completely dry before transferring them to the cake, using royal icing as an adhesive if necessary.
  7. Gentle unmolding: Gently turn the mold upside down and remove from the mold. If necessary, you can use a fine point to help release the dough.

Care: Can be washed in soapy water or dishwasher.

Dimensions: 7 x 2.7 cm

See more articles from the category molds various decoration

Demonstration video for this type of product: